
Setting up Plain with Ferndesk
This guide shows you how to configure Ferndesk to open the Plain chat widget when visitors click the contact button in your widget.
Before you begin: You must have the Plain chat widget installed on your site. If you haven't done this yet, follow the steps below before configuring Ferndesk.
Step 1: Install and hide the Plain launcher
Install Plain on your site using its current setup. To hide the chat bubble by default, set hideLauncher: true in Plain.init. Ferndesk also hides Plain automatically, so hiding it beforehand is not required.
Once installed, Ferndesk takes over: it opens Plain when visitors click the contact button in your widget and hides Plain again when the chat closes. Wait for Plain to finish loading before testing, since the contact button only works once the Plain chat has fully loaded on the page.
Need help installing Plain? See Plain's getting started guide.
Step 2: Open widget settings
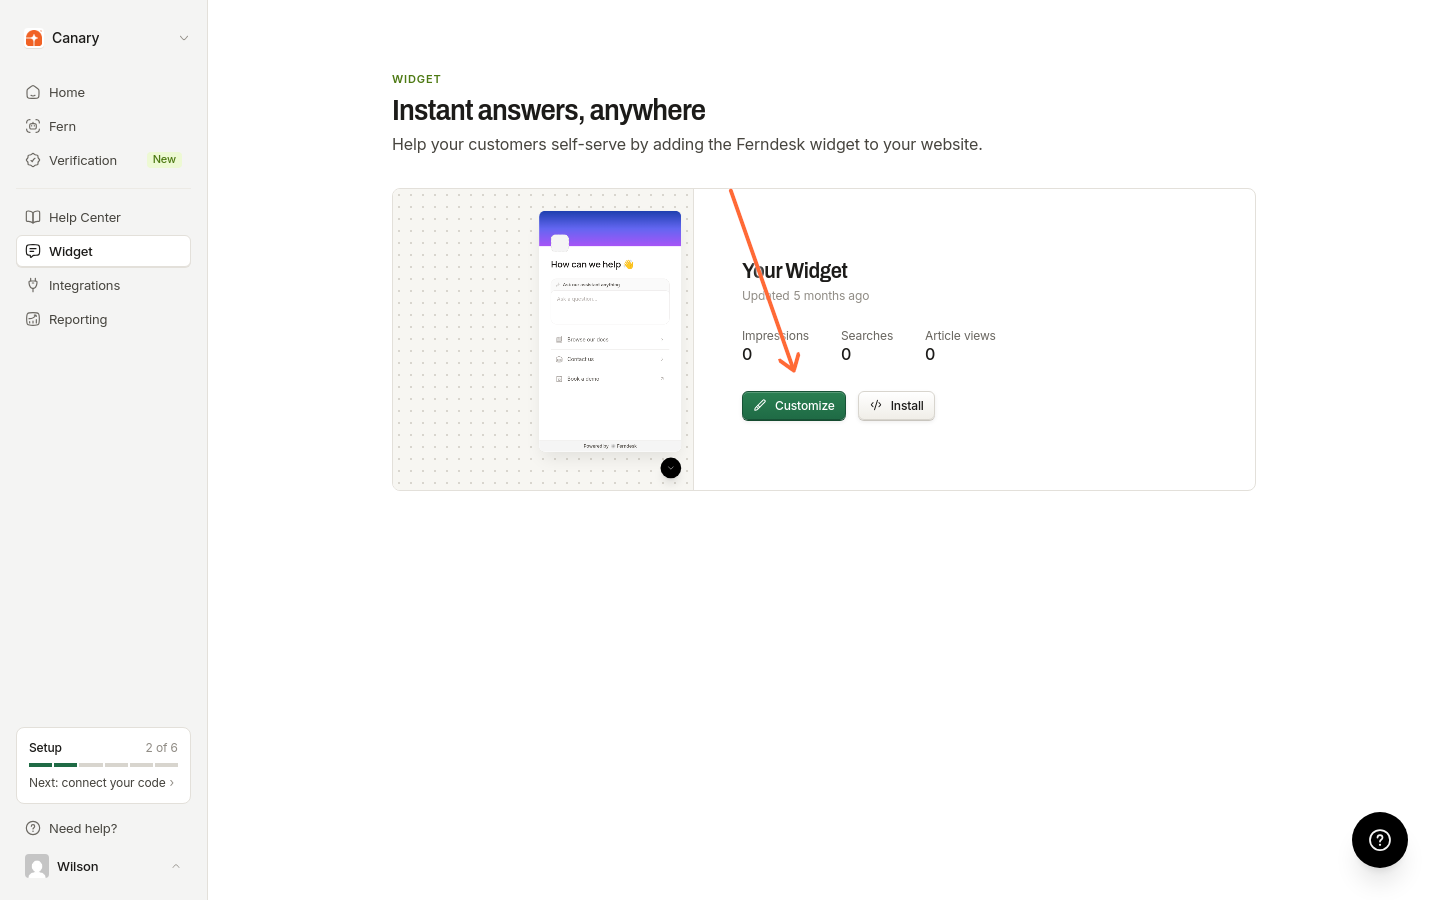
In your Ferndesk dashboard, go to the Widget page and click the Customize button on your widget.
Step 3: Navigate to Contact settings
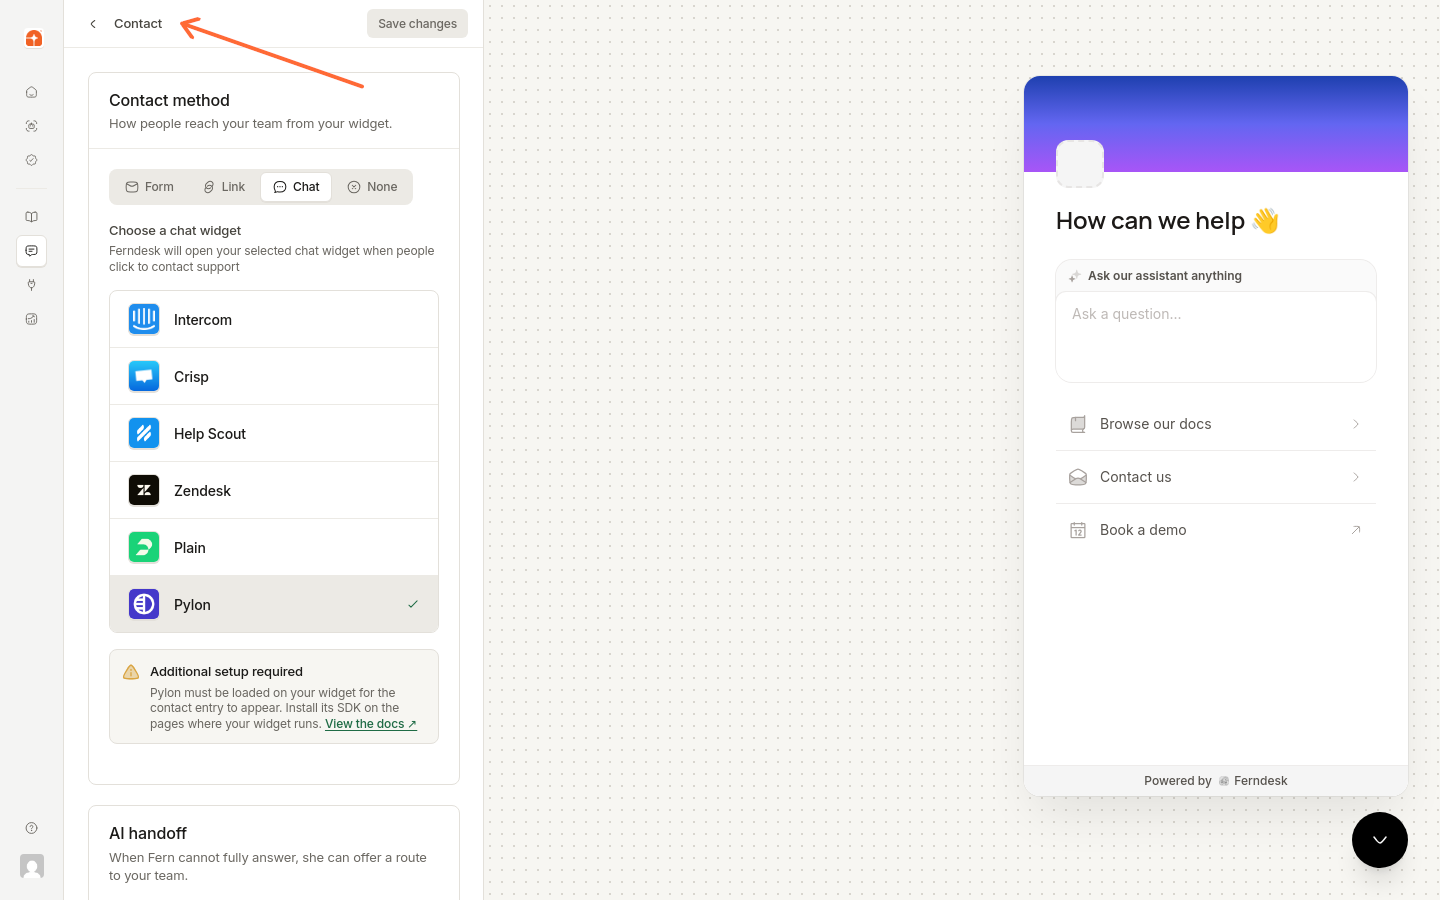
In the sidebar, click Contact to open the contact configuration options.
Step 4: Select the Chat tab
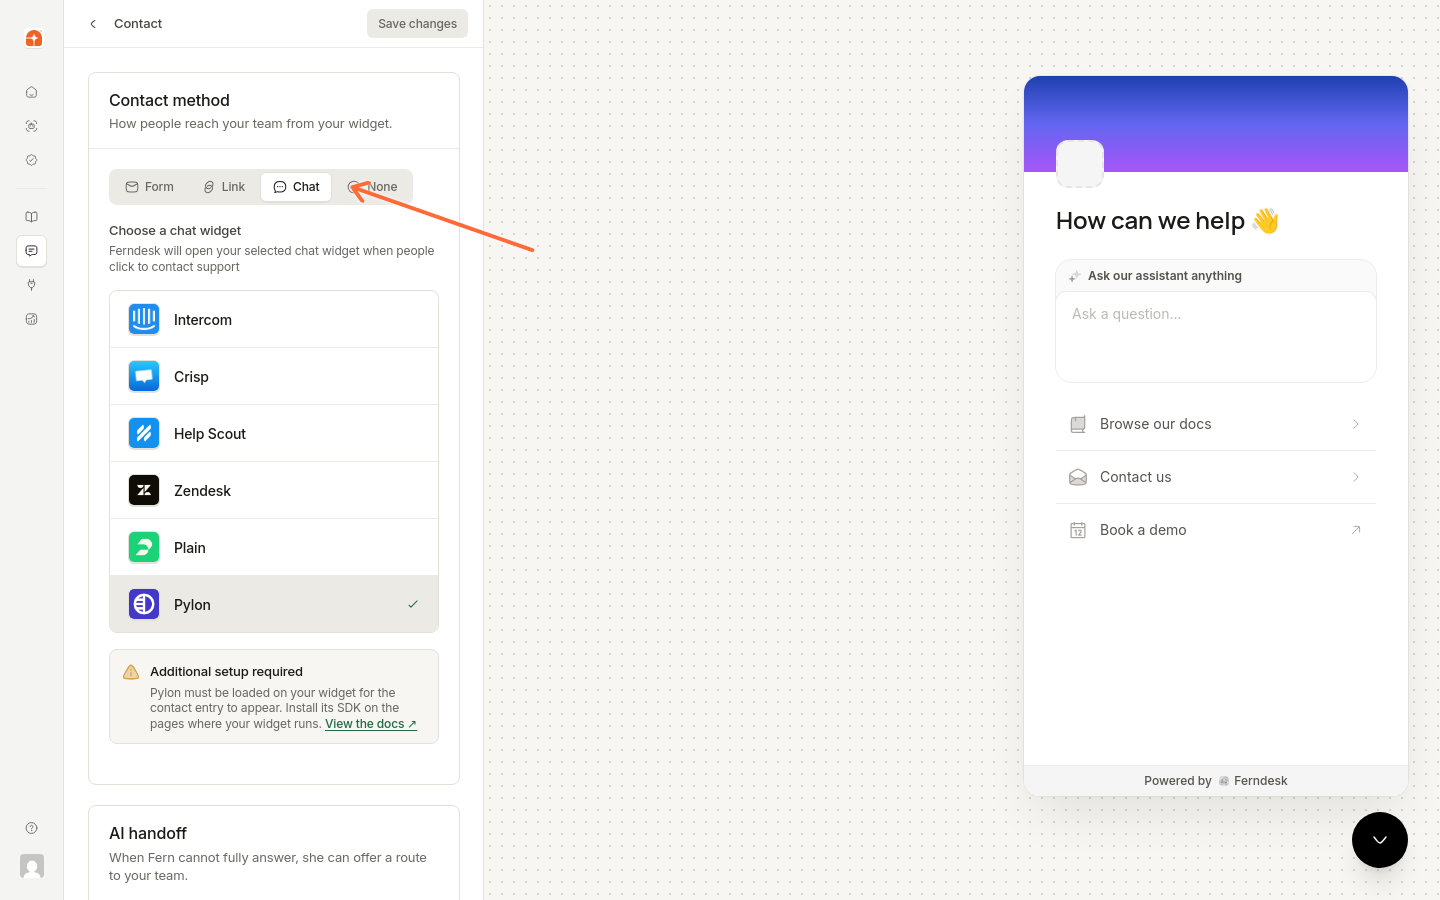
Click the Chat tab to see available chat platforms.
Step 5: Choose Plain
Click the Plain card to select it as your integration platform.
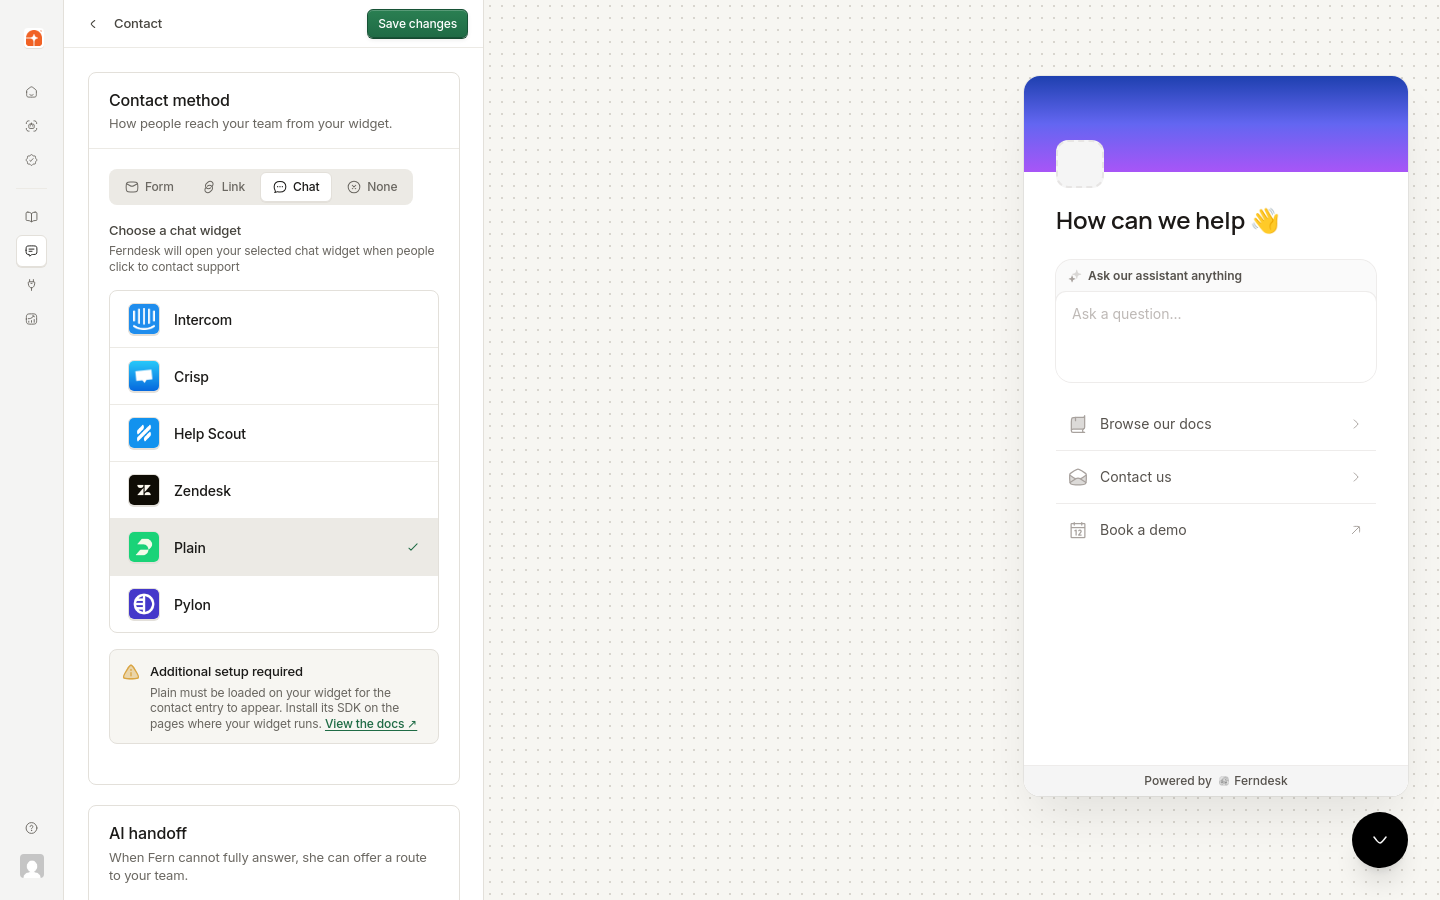
Click Save changes to persist the selection before testing.
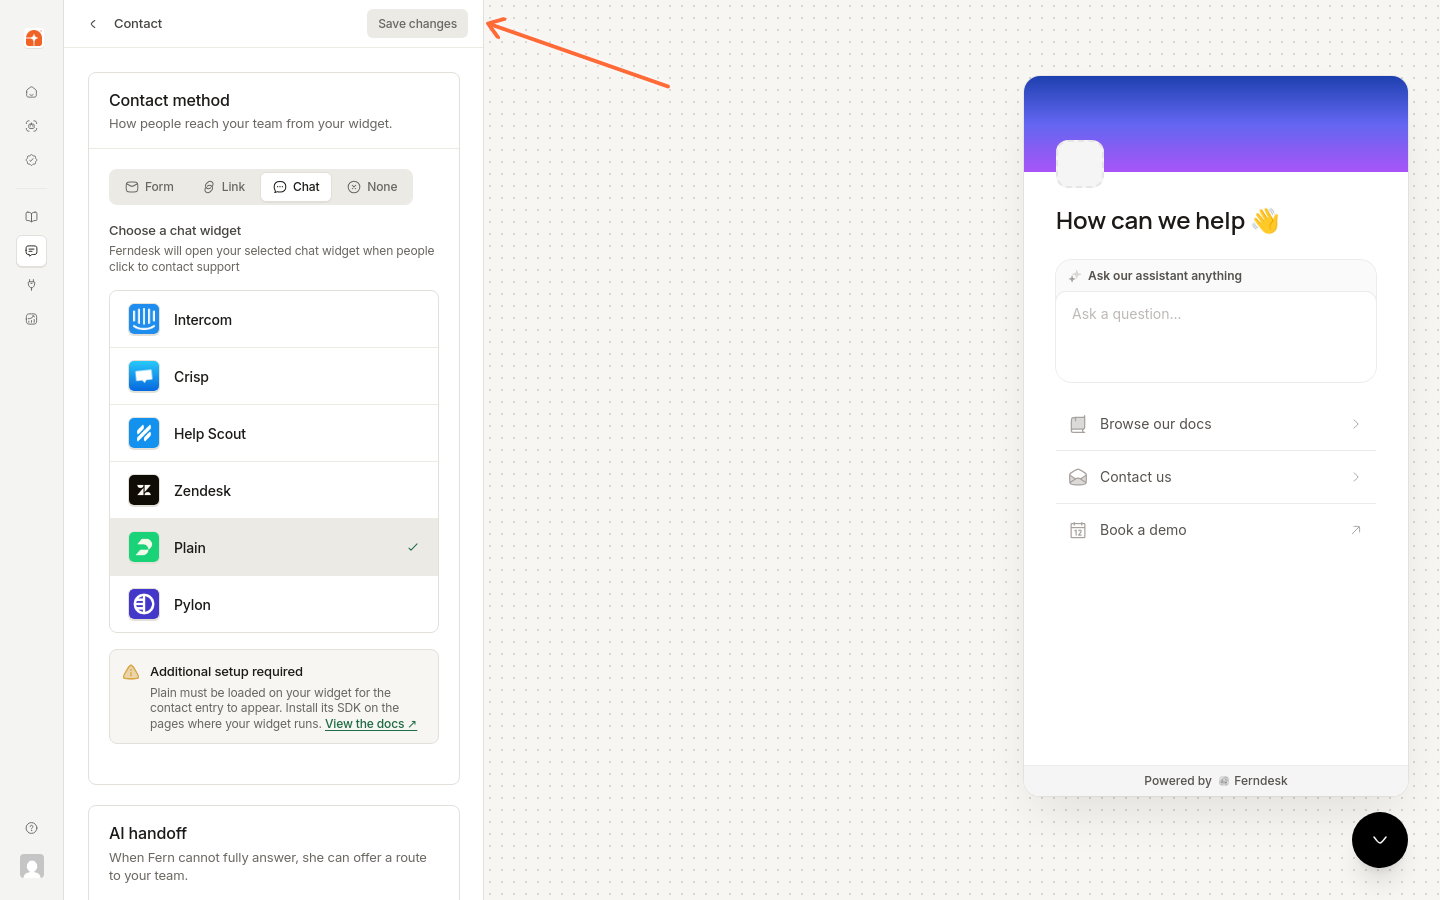
Step 6: Test the integration
Visit a page where both the Ferndesk widget and Plain are installed, then click the contact button in the widget. Plain opens and the Ferndesk widget hides while the chat is open. When the visitor closes Plain, the Ferndesk widget comes back.
If Plain doesn't open
Clicking the contact button opens Plain immediately, without retrying, so test only after the Plain SDK has fully loaded. Check these in order:
Look in the browser console for
Ferndesk: plain is not installed on this page.This means Ferndesk found no loaded Plain SDK. Make sure the Plain snippet is on the same page as the Ferndesk widget, then reload the page and test again.Run
typeof window.Plainin the browser console. It should return"function". If it returns"undefined"or"object", the Plain snippet did not load correctly, so check your Plain installation.Look for
Ferndesk: Failed to open Plain chatin the console. The Plain SDK loaded, but the open command failed, so check your Plain setup and reload the page before testing again.