
Connect Cursor
Connect Ferndesk to Cursor from Integrations → Connect → AI clients → Cursor. You can install in one click or add the server manually in ~/.cursor/mcp.json.
For an overview of what you can do after connecting, see Use Ferndesk with AI tools.
Open Cursor setup
Open the Cursor setup panel in Ferndesk, then use one-click install or the manual file option.
In Ferndesk, go to Integrations → Connect.
Open AI clients, then select Cursor.
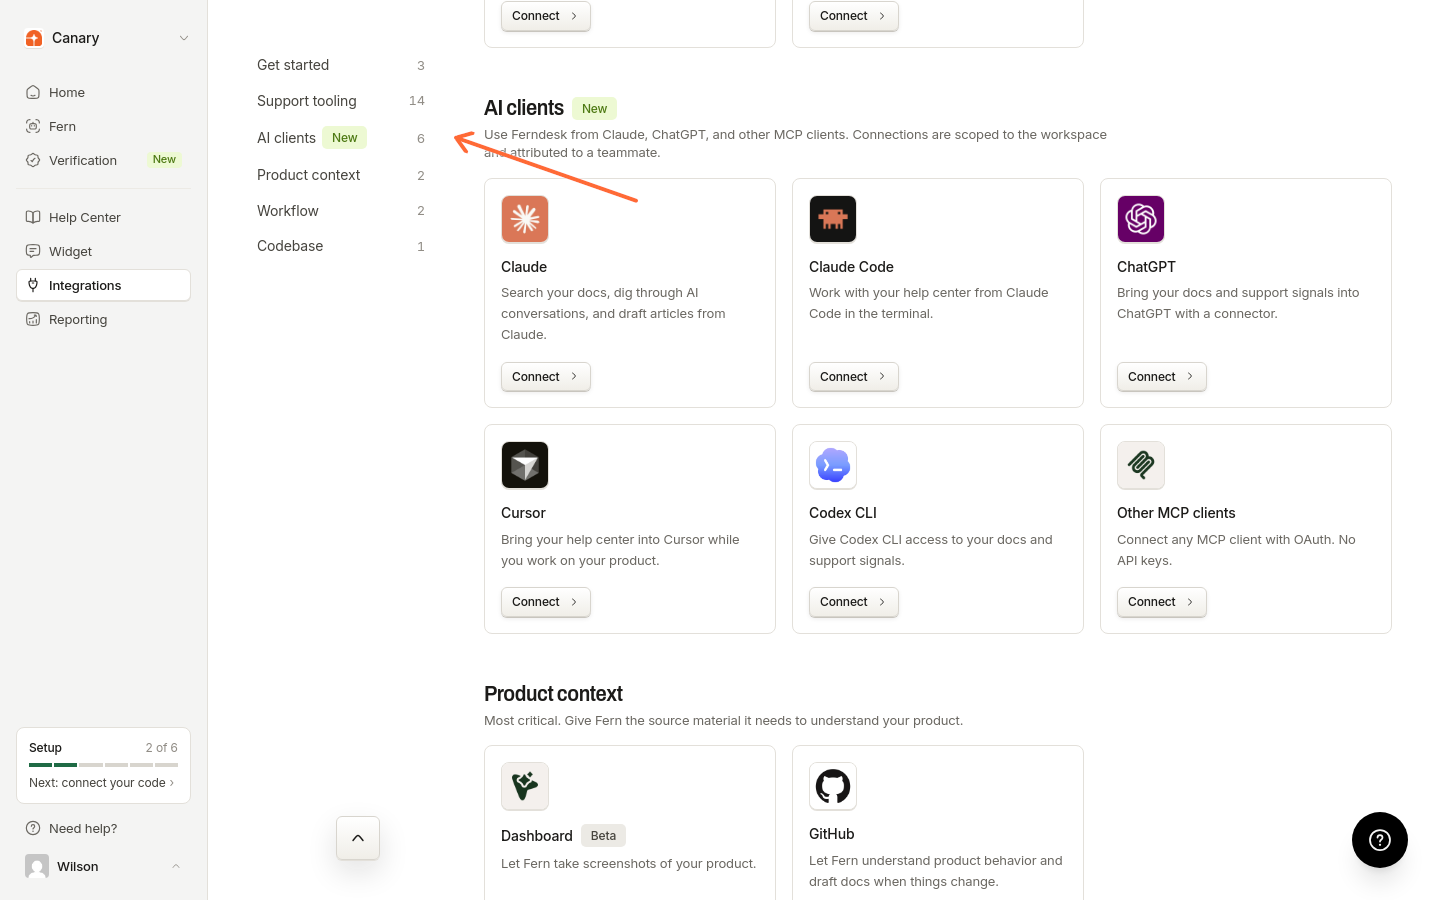
In the Clients list, choose Cursor. The setup panel shows Connect Cursor.
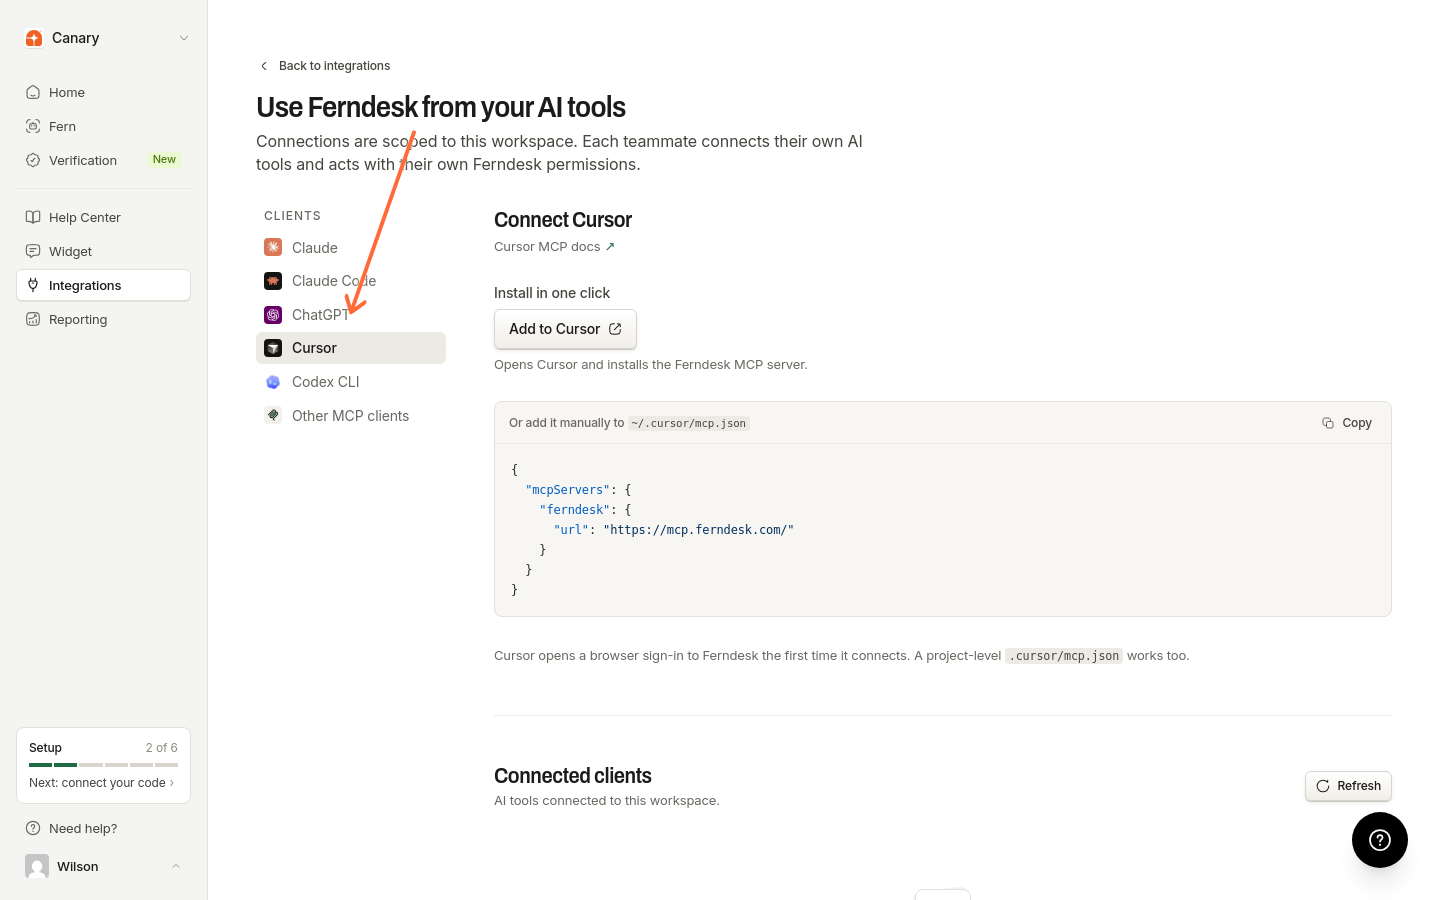
Install in one click
Click Add to Cursor to open Cursor and install the Ferndesk MCP server.
Under Install in one click, click Add to Cursor.
Cursor opens and installs the Ferndesk MCP server.
You can also add the server manually with the JSON file steps below.
Add Cursor manually
Add the Ferndesk server to Cursor by editing ~/.cursor/mcp.json. A project-level .cursor/mcp.json works too.
On the Cursor setup panel, find Or add it manually to ~/.cursor/mcp.json.
Copy the JSON from the panel. It looks like this, with your connector URL already filled in:
{
  "mcpServers": {
    "ferndesk": {
      "url": "<connectorUrl>"
    }
  }
}
Paste that JSON into
~/.cursor/mcp.json, or into a project-level.cursor/mcp.json.
For Cursor MCP file details, see Cursor MCP docs.
Sign in the first time
Cursor opens a browser sign-in to Ferndesk the first time it connects. Approve access and choose the workspace to connect.
After you sign in, the connection appears under Connected clients on the AI clients page. Click Refresh to update the list.