
If you see errors when adding a redirect:
Both paths must start with
/Check for duplicate redirects (the same From Path can't redirect to multiple destinations)
Verify the To Path points to a valid help center URL
Redirects preserve links when you restructure your help center or migrate from another platform. When someone visits an old URL, they're automatically sent to the new destination instead of hitting a 404 error.
Redirects are managed from your help center customization settings.
Log in to your Ferndesk account.
In the left sidebar, click Help Center.
Open the customization interface for your help center.
Find the Advanced section in the customization options.
Open the redirects editor.
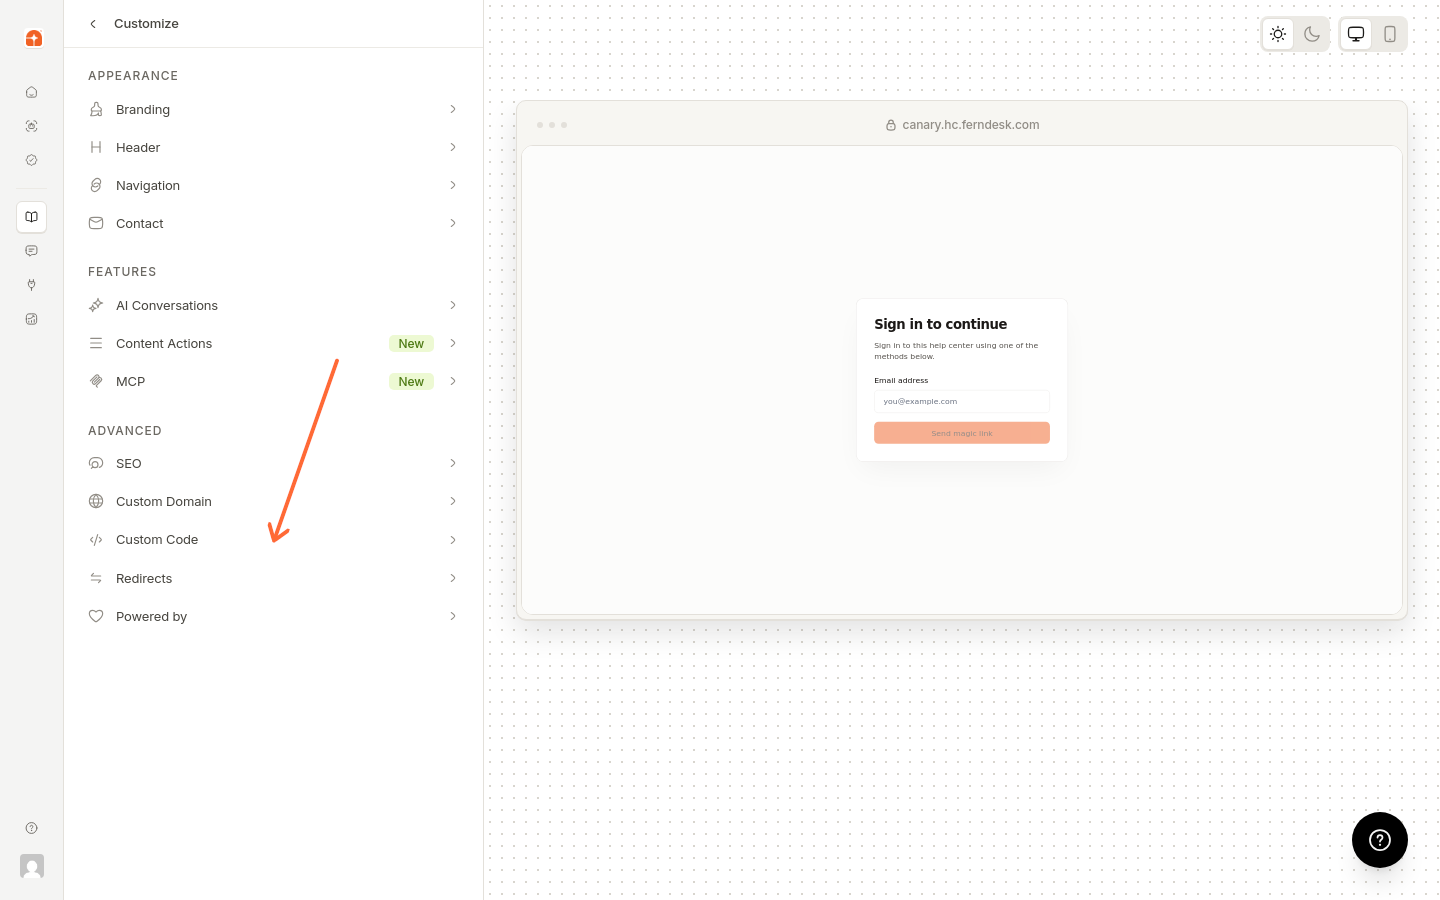
Each redirect maps an old path to a new destination. Both paths must start with /.
Enter the old URL you want to redirect from. The path must start with /.
Enter the new destination URL. This path must also start with /.
Save the redirect. It appears in your redirects list immediately.
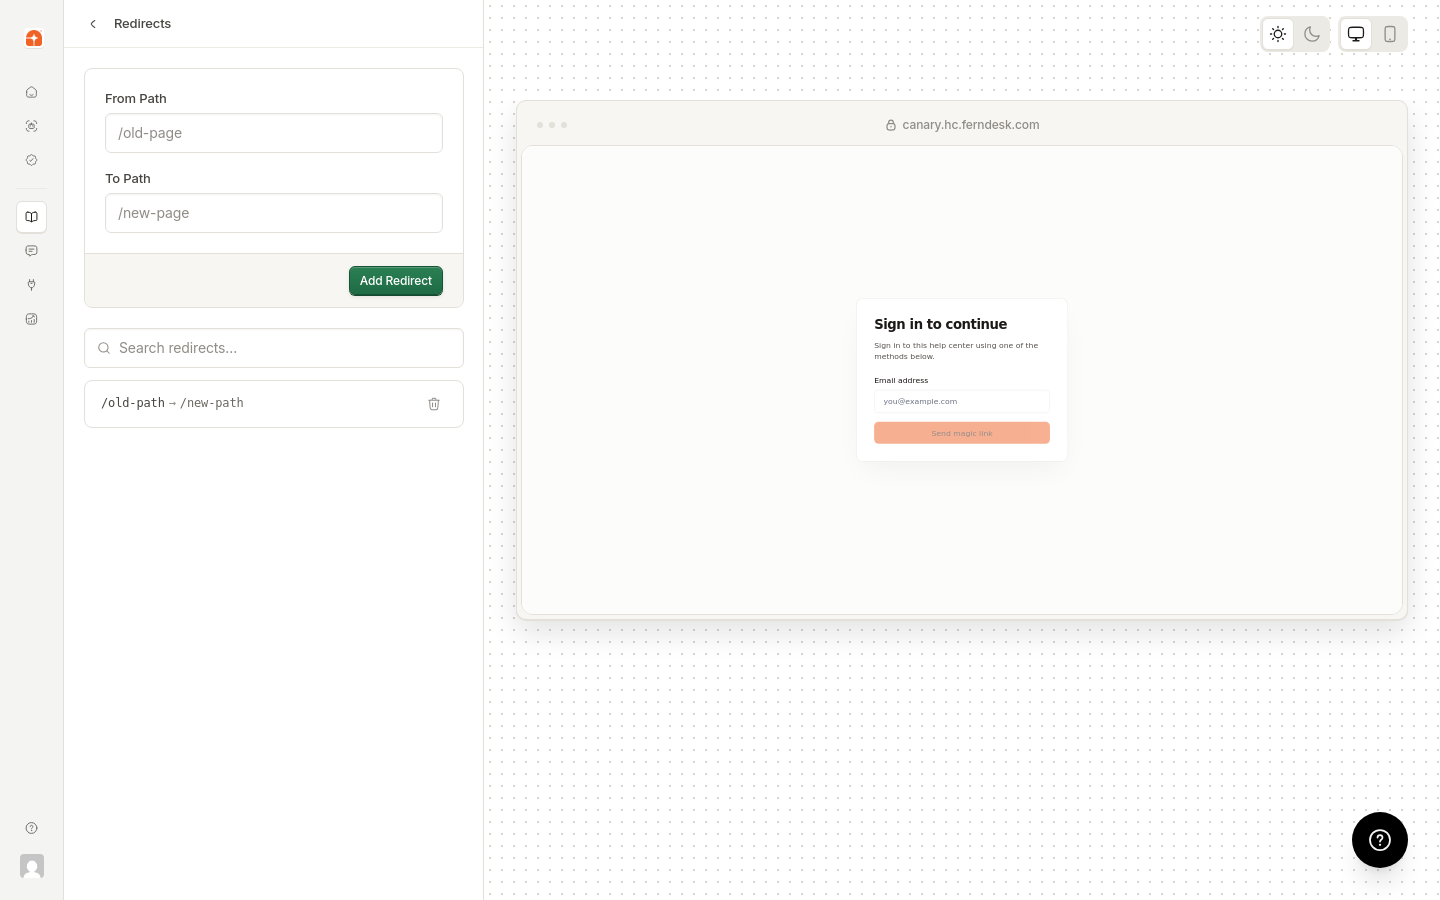
Paths are relative to your help center root. For example, to redirect help.yourcompany.com/old-article to help.yourcompany.com/new-article, enter /old-article as the From Path and /new-article as the To Path.
Both paths must start with /
Paths are case-sensitive
Paths can point to articles, collections, or any valid help center URL
Scenario | Example |
|---|---|
After migration | Redirect old platform URLs to your new Ferndesk URLs |
After restructuring | Point old collection paths to new locations |
After renaming | Redirect outdated article slugs to current ones |
Consolidating content | Send multiple old URLs to a single updated article |
Article URLs in Ferndesk include a short ID at the end, like /how-to-reset-password-abc12. This design choice eliminates most redirect management.
When you rename an article, the ID stays the same. Ferndesk resolves URLs by that ID, so /old-title-abc12 and /new-title-abc12 both reach the same article. You don't need to create redirects every time you update a title.
Without this ID-based resolution, renaming articles would require a new redirect for every change. Over time, you'd manage hundreds of redirects just to preserve old links. Ferndesk's URL structure handles this automagically.
Most article renames don't require manual redirects. Use the redirects editor only when you need custom paths, migration mappings, or URLs from external systems.
When you migrate from another platform, Ferndesk creates redirects from your old URLs to the new ones. This preserves your SEO and ensures bookmarked or shared links still work. See Migrate your help center to Ferndesk for migration details.
To remove a redirect, click the delete icon next to it in the redirects list. The old URL will no longer redirect and may return a 404 error if visited.
Before deleting a redirect, verify that no external links or bookmarks still reference the old URL. Removing a redirect can break those links.
If you see errors when adding a redirect:
Both paths must start with /
Check for duplicate redirects (the same From Path can't redirect to multiple destinations)
Verify the To Path points to a valid help center URL
If a redirect doesn't seem to work:
Check that both paths start with /
Verify the From Path matches exactly (paths are case-sensitive)
Clear your browser cache and test again
Use the search field in the redirects editor to find existing redirects. Search works on both From and To paths.
How to customize your help center - Full customization overview
Configure article SEO settings - Slug changes and automatic redirects
Migrate your help center to Ferndesk - Migration redirects