
Setting up Intercom with Ferndesk
This guide shows you how to configure Ferndesk to open the Intercom Messenger when visitors click the contact button in your widget.
Before you begin: You must have the Intercom Messenger installed on your site with the default launcher disabled. If you haven't done this yet, follow the steps below before configuring Ferndesk.
Step 1: Install and hide the Intercom launcher
First, make sure the Intercom Messenger SDK is installed on your site. You can find your installation code in Intercom under Settings > Installation > Web.
In your Intercom installation code, add hide_default_launcher: true to your window.intercomSettings object:
<script>
  window.intercomSettings = {
    api_base: "https://api-iam.intercom.io",
    app_id: "YOUR_APP_ID",
    hide_default_launcher: true,
  };
</script>
This hides the Intercom launcher by default. Ferndesk will open it when visitors click your contact button.
Need help installing Intercom? See Intercom's installation guide.
Step 2: Open widget settings
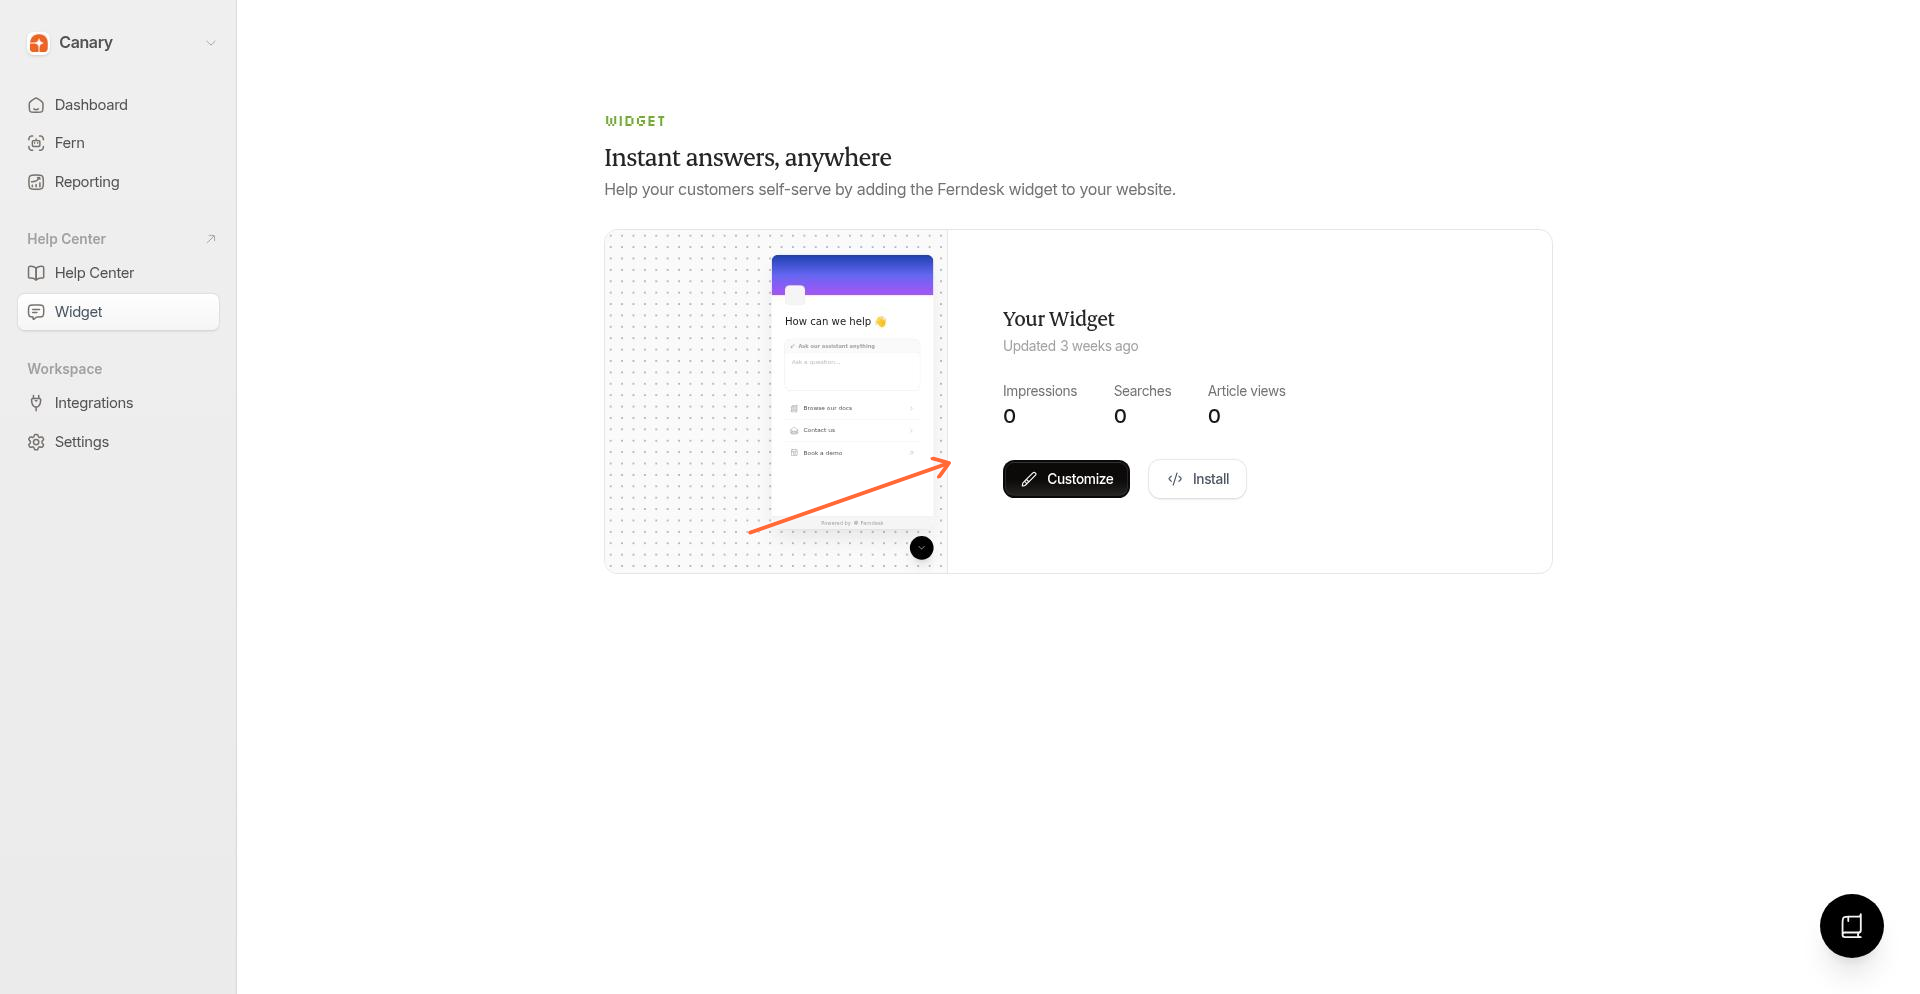
In your Ferndesk dashboard, go to the Widget page and click the Customize button on your widget.
Step 3: Navigate to Contact settings
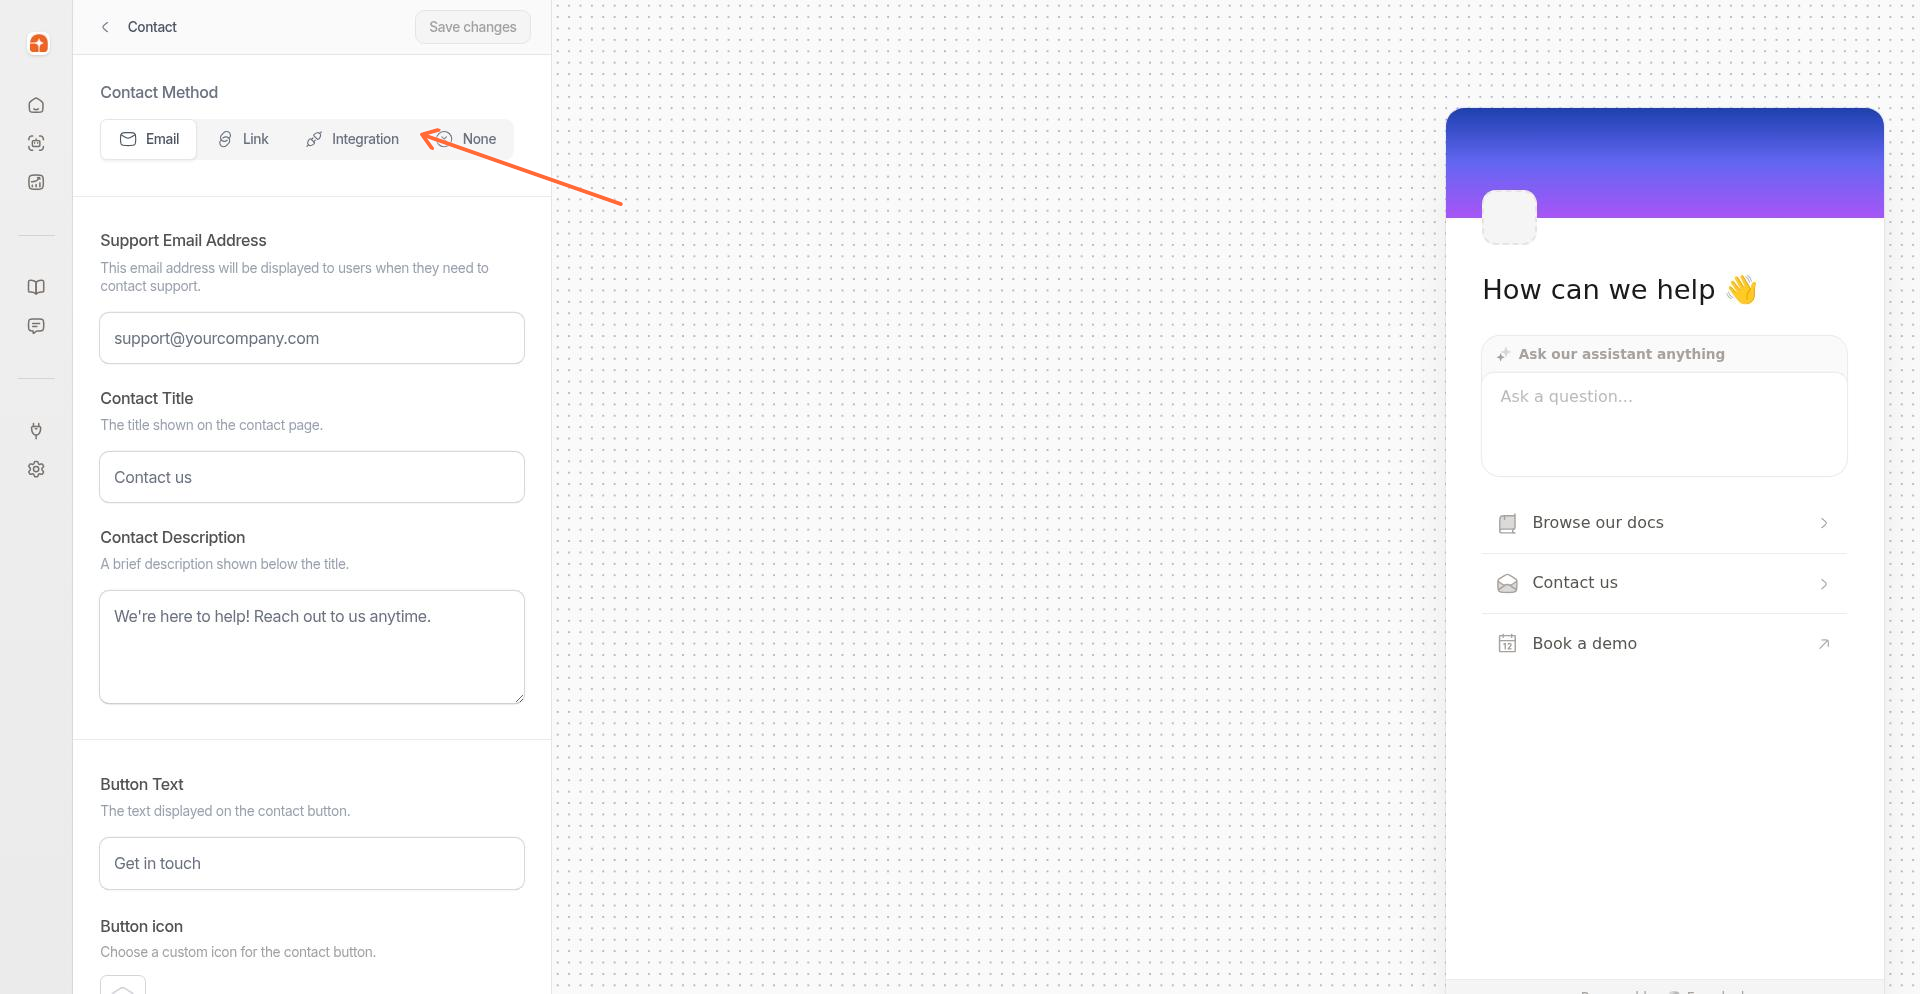
In the sidebar, click Contact to open the contact configuration options.
Step 4: Select the Integration tab
Click the Integration tab to see available chat platforms.
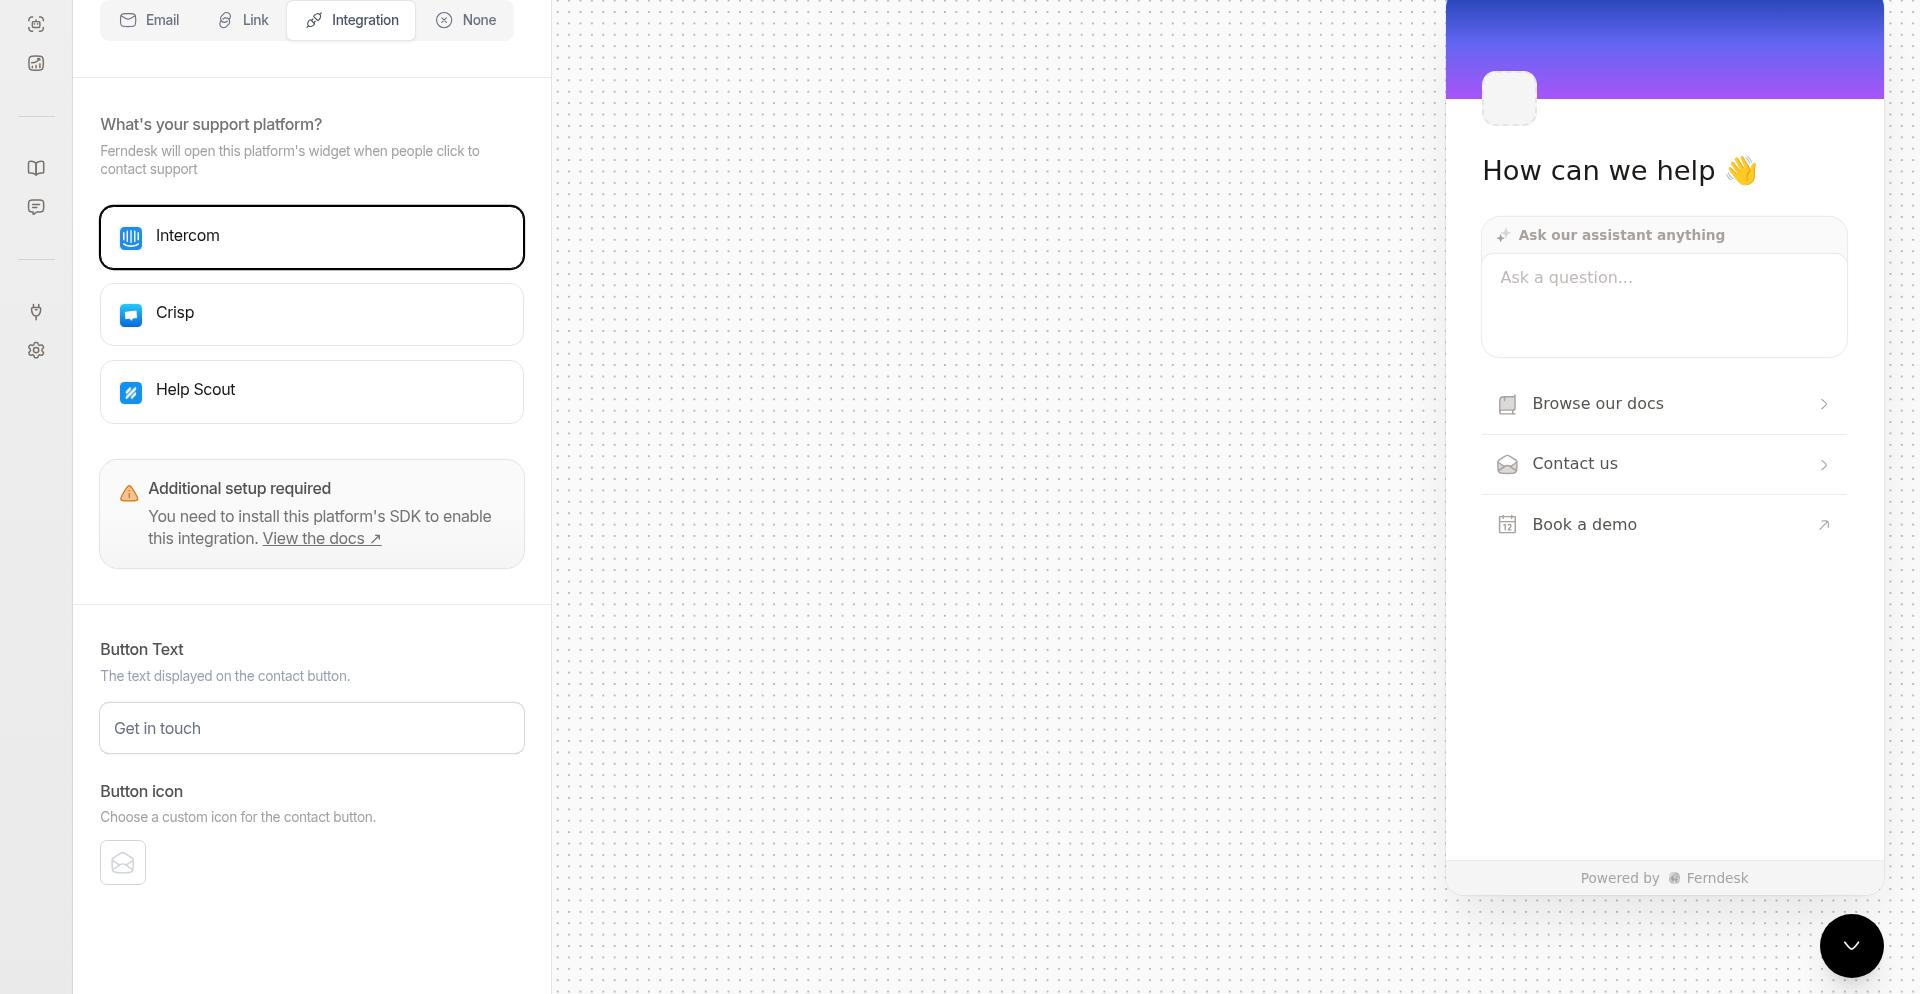
Step 5: Choose Intercom
Click the Intercom card to select it as your integration platform.
Step 6: Test the integration
Visit your site where the Ferndesk widget and Interco is installed. Click the contact button in the widget. The Intercom Messenger should open, letting visitors start a conversation with your team.
If Intercom doesn't open, verify that the Intercom Messenger is installed on the same page as your Ferndesk widget.